Planning a DIY paving project for the first time can be daunting so we’ve made it easier with our Paving Installation Guide. Read the simple steps below or Download the Guide for the full detailed instructions.
Step 1 – Prepare the Site.
Mark out your area and clear area of all vegetation, bark and soft soils.
Step 2 – Lay a Foundation.
Lay certified road base and compact with a plate compactor. (For walkways: 50mm to 80mm. For driveways: 150 to 200mm)
Step 3 – Bedding Sand
Spread bedding sand evenly over the area to a depth of 40mm. Level and compact.
Step 4 – Screed Bedding Sand
Screed bedding sand to create a level pad to lay the pavers on. Find out more about screeding in our Paving Installation Guide.
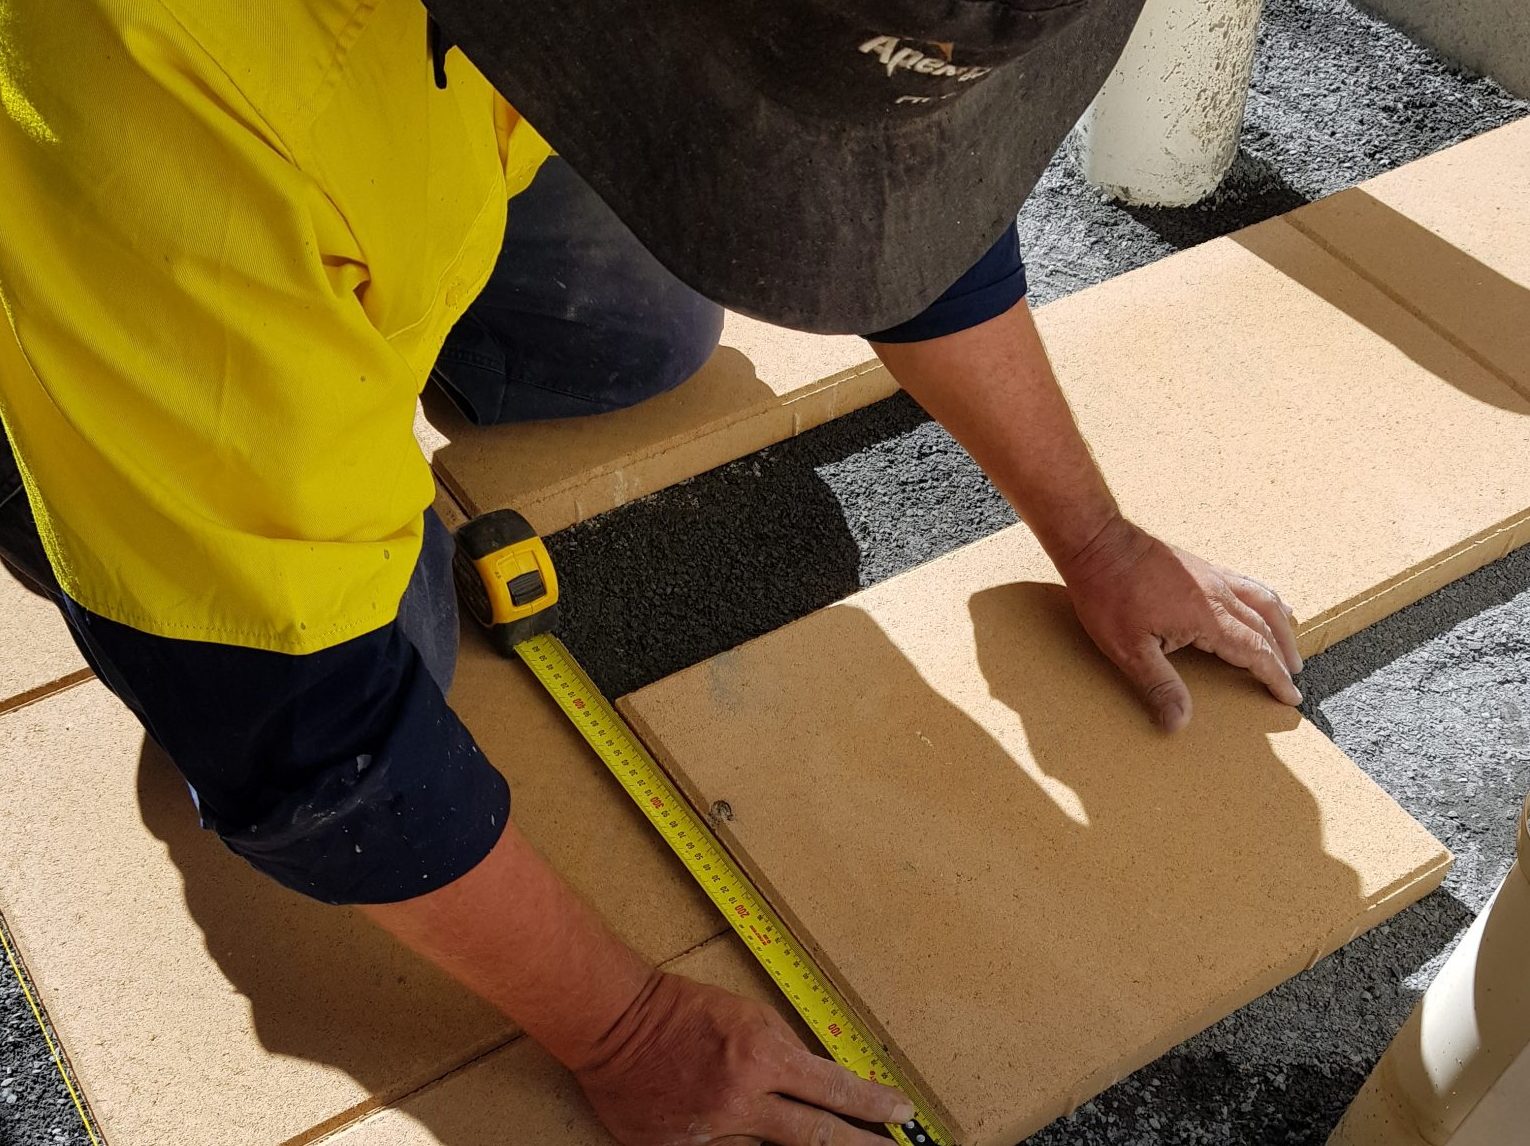
Step 5 – Start Paving
Set up a string line and start laying pavers along the longest straight edge of the area.
Step 6 – Edging
Remove all excess road base and sand from around the edge of the paved area and create a concrete edge to keep the pavers in position.
Step 7 – Sweep in the sand
Sweep the gap sand over the dry paving, ensuring that all the gaps are filled.
Step 8 – Pack it in
Compact the pavers with a thick piece of timber and a rubber mallet. For driveway pavers you can use a plate compactor with a rubber mat or carpet under the plate.
Want to seal your pavers? Find out about sealing in our Paving Maintenance Guide.
And you’re done! Now it’s time to start using your new paved area.